아래의 라인부터 또 한번의 라인이 나오는 곳 까지는 root 계정으로 처리를 해준다. root 계정으로 접속하기 귀찮으면 sudo 선언을 해주고 실행해도 된다. 이것도 귀찮기는 매한가지... 걍 root 계정에서 로그인하여 처리하자.
1. Install JRE or JDK 1.6 - 우분투를 기본 설정으로 설치하면 기본 설치된다(될 것이다, 아마도?).
2. Install the required packages (please follow the Oracle installation guide)
# apt-get install gcc
Do the same for other packages
apt-get install make binutils lesstif2 rpm libmotif3 libaio gawk alien ksh
2.6.9-11 이상의 커널이 필요하다.
#uname -r
필요한 패키지 버전(그 이상도 당연히 가능) -> 대부분 설치되어 있다.
binutils-2.15.92.0.2-10
compat-db-4.1.25-9
control-center-2.8.0-12
gcc-3.4.3-9
gcc-c++-3.4.3-9
glibc-2.3.4-2
glibc-common-2.3.4-2
gnome-libs-1.4.1.2.90-44.1
libstdc++-3.4.3-9
libstdc++-devel-3.4.3-9
make-3.80-5
pdksh-5.2.14-30
sysstat-5.0.5-1
xscreensaver-4.18-5
[출처] 리눅스 오라클 11g 설치|작성자 뽀쏭
설치가 안된 패키지가 몇개 있었다. 아래의 명령어를 사용하여 설치가 되지 않은 패키지들을 설치되도록 하자.
[출처] 우분투에 오라클 설치하기|작성자 만재
Add the user and change groups to make the installer morecomfortable. Remember, we are tricking the installer to think it’sinstalling on a Red Hat box.링크
# addgroup oinstall
# addgroup dba
# addgroup nobody
# useradd -m oracle -g oinstall -G dba -s /bin/bash
# usermod -g nobody nobody
# passwd oracle (oracle 계정의 비밀번호 설정)
The usermod command is needed since because when running, theinstaller looks for a user called nobody which is part of a group namednobody (in Ubuntu, the user nobody it’s assigned to nogroup by default).
4. Set shared memory parameters - Oracle 에서 필요한 메모리와 CPU 리소스를 위해 커널 파라미터 수정
# gedit /etc/sysctl.conf
파일을 열고, 파일의 가장 끝 부분에 아래 내용을 복사해서 붙여넣기 한다. 저장 후 파일 닫는다.
fs.file-max = 65535sysctl.conf 파일은 우분투 시스템이 처음 부팅시 읽어오는 정보이다. 이것을 적용시키기 위해서는 재부팅을 한다.
kernel.shmall = 2097152
kernel.shmmax = 2147483648
kernel.shmmni = 4096
kernel.sem = 250 32000 100 128
net.ipv4.ip_local_port_range = 1024 65000
net.core.rmem_default = 1048576
net.core.rmem_max = 1048576
net.core.wmem_default = 262144
net.core.wmem_max = 262144
5. Reload the config file:
# sysctl -p
6.Modify limits.conf - limit.conf 파일 수정
Add these lines to /etc/security/limits.conf, letting the oracle user use more resources than the defaults allowed.
oracle soft nproc 2047
oracle hard nproc 16383
oracle soft nofile 1023
oracle hard nofile 65535
Make
sure the limits.conf is being interpreted as the oracle userlogs in by
adding these lines to /etc/pam.d/login. You will want tomake sure that
is actually happening, since the defaults are way lowerand you may get
all sorts of problems.
limits.conf 파일 수정이 완료되었으면 다음으로
# gedit /etc/pam.d/login위의 파일을 열어서 제일 아랫 부분 아래의 내용을 추가한다.
session required /lib/security/pam_limits.so
session required pam_limits.so
4. Make some symlinks.- 환경변수 설정
Apparently, the installer uses absolute paths, so it must find the binaries in the right places.
$ln -s /usr/bin/awk /bin/awk
$ln -s /usr/bin/rpm /bin/rpm
$ln -s /lib/libgcc_s.so.1 /lib/libgcc_s.so
$ln -s /usr/bin/basename /bin/basename /bin/basename [출처] 우분투에 오라클 설치하기|작성자 만재
Oracle 11g가 설치될 폴더 생성하기(본인은 11g를 설치하여 11g로 변경함)
$mkdir /oracle
$mkdir /oracle/11g
$chown -R oracle:oinstall /oracle
$chmod -R 775 /oracle [출처] 우분투에 오라클 설치하기|작성자 만재
그다음 환경변수 설정을 위해 etc밑에 profile을 gedit로 연다(vi로열어도 상관없음)
$gedit /etc/profile
파일을 열었으면.. 파일 가장 아랫부분테 밑에 정보를 복사해서 넣는다.. 파일의 가장 마지막!
export ORACLE_BASE=/oracle
export ORACLE_HOME=/oracle/10g
export ORACLE_SID=orcl10
export PATH=$PATH:$ORACLE_HOME/bin [출처] 우분투에 오라클 설치하기|작성자 만재
$su - oracle
password:
$echo $ORACLE_BASE
/oracle
$echo $ORACLE_HOME
/oracle/10g
제대로 나오면 이상없음..
[출처] 우분투에 오라클 설치하기|작성자 만재
$su - oracle
password:
$echo $ORACLE_BASE
/oracle
$echo $ORACLE_HOME
/oracle/10g
제대로 나오면 이상없음..
[출처] 우분투에 오라클 설치하기|작성자 만재
5. Unpack and prepare the installation. - 압축 해제 풀기!! 권한 설정 및 오라클 유저로 앞축을 푼다.
# cd /path/to/zipfile (Oracle 압축 파일을 받은 폴더로 이동한다).
#sudo chown oracle:oinstall Oracle11*.zip
#sudo Oracle11*.zip /home/oracle
# su - oracle
# unzip linux_11gR1b5_database.zip - 파일명은 버전에 따라 달라질 수 있습니다.
# chown -R oracle:oinstall database
6.Turn on the display - runInstaller를 실행하기 전에 xdisplay를 일치시켜줘야 한다는 군요... root 계정이나 oracle 에서 xdisplay를 사용하려고 하면 실행되지 않는 부분을 해결하기 위해서는 아래의 명령어를 본인의 사용계정에서 설정해줘야 합니다. 꼭!! 안그러면 실행 중 오류가 뜹니다.
# sudo -i
xhost +
# su - oracle
# DISPLAY=:0.0; export DISPLAY
7. Start the installer as the oracle user
# su - oracle
# export LANC = C // 그냥 실행하면 한글이 깨진 설치화면으로 나옵니다. 속편하게 영어로~!!
$ cd /path_to_extracted_files
$ ./runInstaller
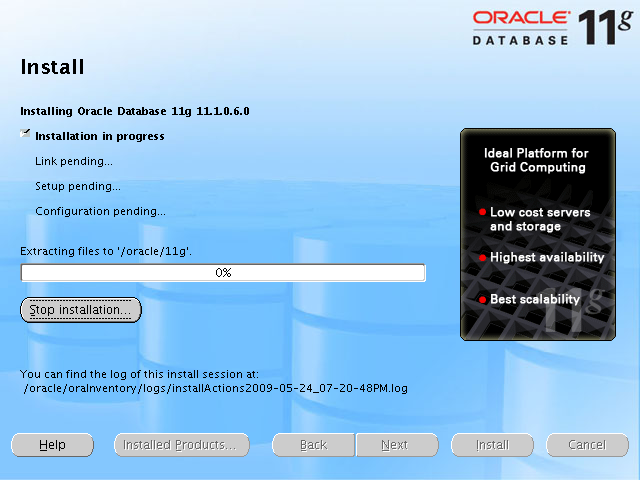
8. Install Oracle11g
아래 그림에서 보시는 것처럼
Oracle Base Location : /oracle
Oracle Home Location : /oracle/11g
Global DataBase Name : oracle
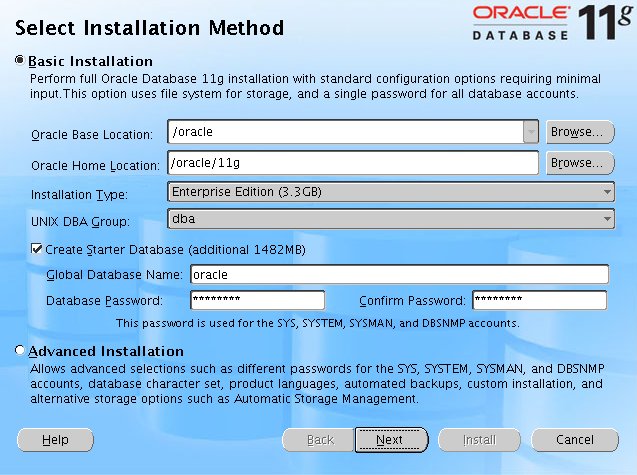
Inventory directory 는 /oracle/oraInventory로 설정
System group name 은 dba로 설정
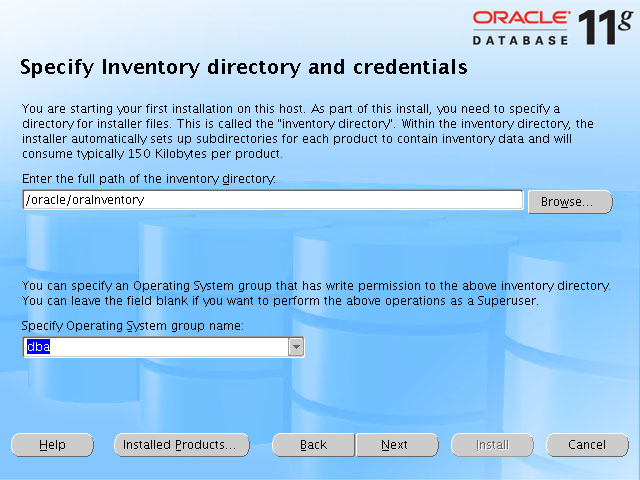
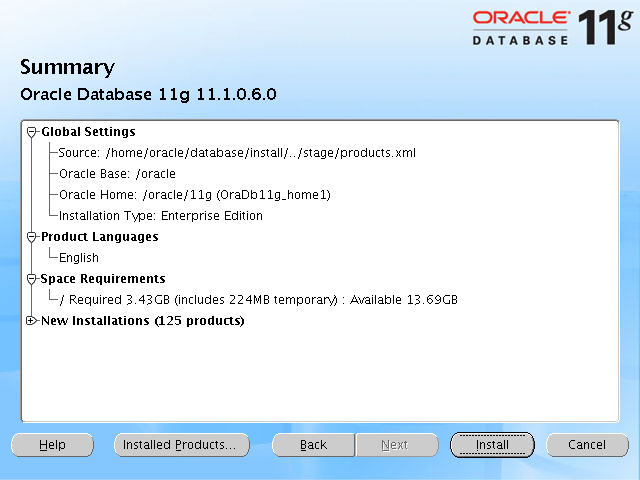
나머지 과정은 Next~ Next~~를 눌러주시면 됩니다.
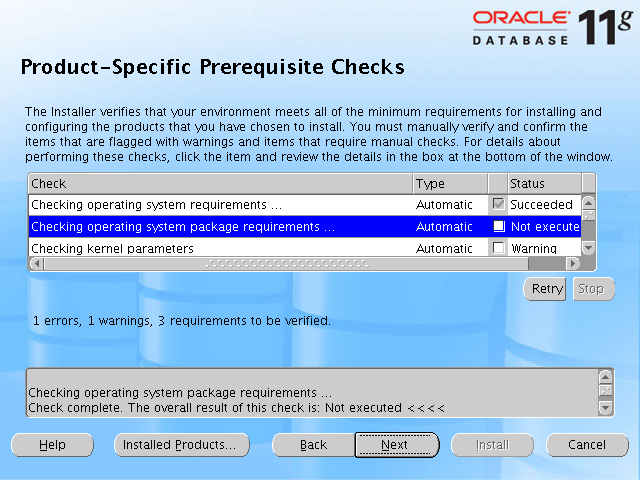
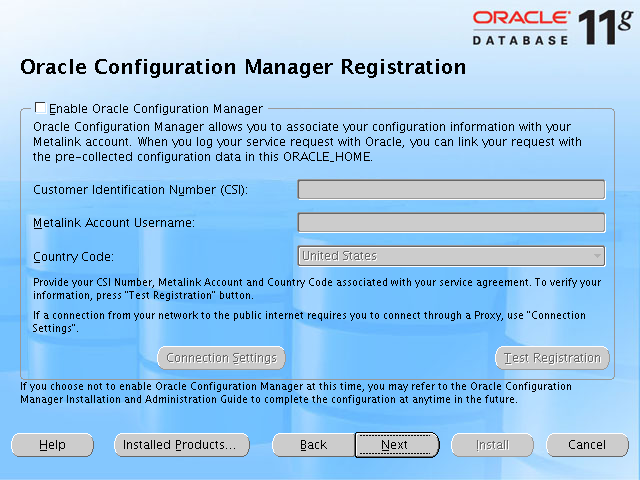
저는 이상하게... ㅡ_-);; Password Management 가 정상적으로 화면이 나오지 않더군요. 이것과 관련된 내용은 아래의 페이지에서 확인해주세요. 죄송합니다.
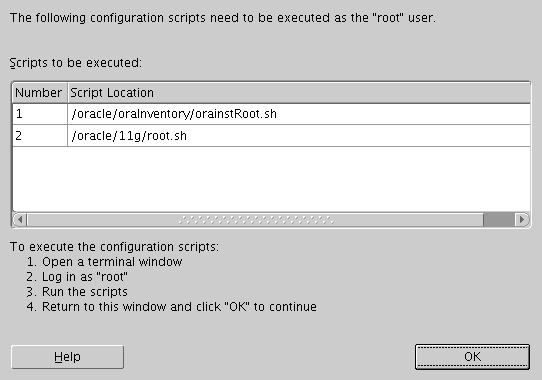
쭈욱 넥스트가 나오고 다음 창이 나오면, Script to be executed : 경로에 있는 곳으로 가서 sh(스크립트 파일)을 실행시켜주십시오. ^^ 보시다시피 root 계정으로 해주길 원하죠~!? 그렇게 해주세요. ^^
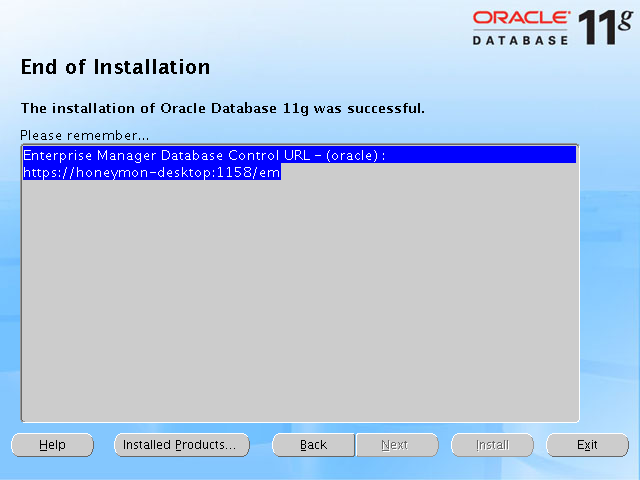
9. Complete Install And System Reboot.
본인 계정으로 로그인 후 터미널을 실행하여 /etc/oratab파일 부분을 수정
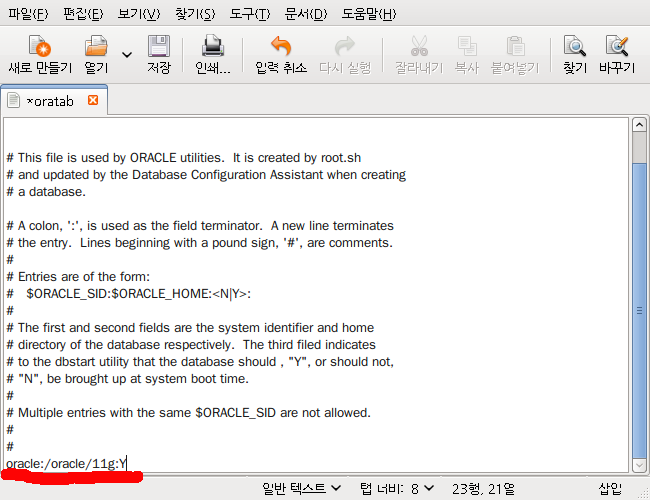
# gedit /oracle/11g/bin/dbstart
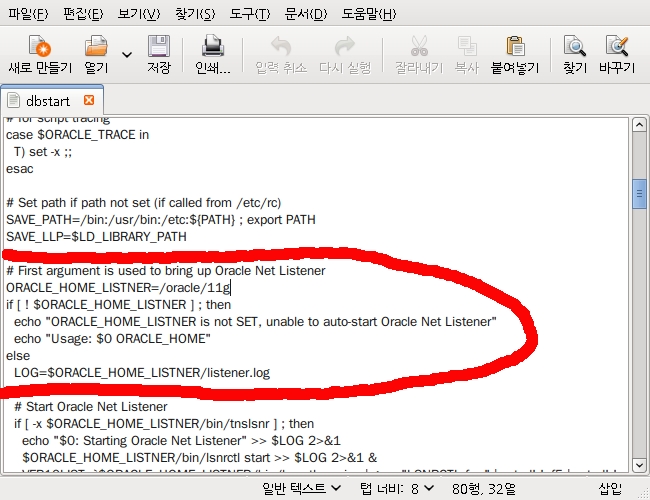
ORACLE_HOME_LISTNER=/oracle/11g
로 설정해 주면 되겠다.
oracle 계정에서
$ lsnrctl start
리스너 시작 후에
$sqlplus /nolog
sqlplus>connect orcl as sysdba
~~~
sqlplus>startup [출처] 우분투에 오라클 설치하기|작성자 만재
참고사이트 :
'허니몬의 IT 이야기 > 프로그래머, '코드 엔지니어'' 카테고리의 다른 글
| 090624, Agile 기법 마인드맵 (0) | 2009.06.24 |
|---|---|
| 허니몬, DTFE, JavaFX 세미나에 다녀오다. ^^ (0) | 2009.05.24 |
| 자바 앱스토어의 탄생, 앱스토어 세계 탄생의 빅뱅, 신호탄이 되지 않을까? (0) | 2009.05.22 |
| 허니몬의 자바guru 개설. (0) | 2009.05.06 |
| Oracle_20090424 : SELECT 문 사용 (0) | 2009.04.30 |
